17. Aug 2023
How and where to install a smart smoke detector in your home

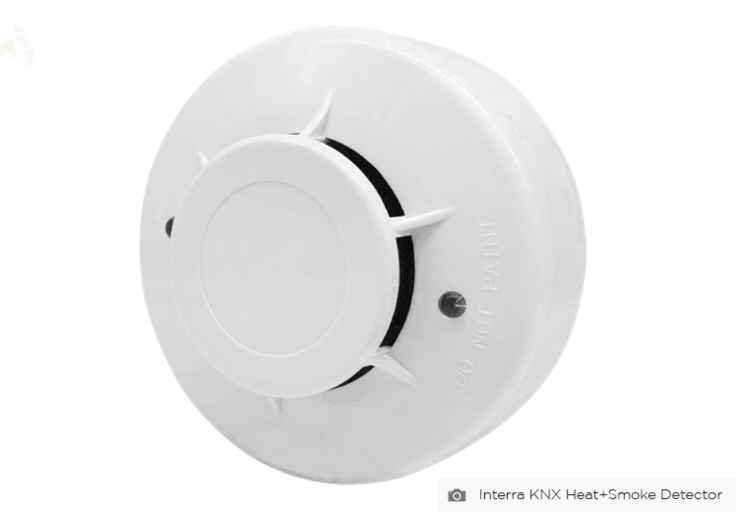
Smart smoke detectors offer enhanced safety features and the ability to connect with other smart devices in your home. If you're considering installing a smart smoke detector, here's a guide on how and where to install it for maximum effectiveness.
Step 1: Choose the Right Smart Smoke Detector
Before diving into the installation process, it's essential to select the right smart smoke detector for your home. Consider factors such as battery life, connectivity options, and additional features like carbon monoxide detection. Look for a detector that meets your specific needs and is compatible with your smart home system.
Step 2: Identify Ideal Locations
Smart smoke detectors should be strategically placed throughout your home to ensure optimal coverage. Start by installing at least one detector on each level of your home, including the basement and attic. It's also crucial to have detectors near bedrooms and in common areas such as the living room and kitchen.
Step 3: Avoid Problematic Areas
When choosing the installation locations, make sure to avoid areas that may interfere with the detector's functionality. Avoid placing detectors near windows, vents, or drafty areas, as these can lead to false alarms. Additionally, keep them away from areas with excessive humidity, such as bathrooms, as it may affect the detector's sensors.
Step 4: Follow Manufacturer's Instructions
Every smart smoke detector comes with specific installation instructions provided by the manufacturer.
It's essential to read and understand these instructions thoroughly before proceeding.
Follow the recommended guidelines for wiring, mounting, and testing the detector to ensure proper installation and functionality.
Or ask the help of a professional electrician or your smart home installer to help you install your smart smoke detector.
Step 5: Wired or Battery-Powered?
Smart smoke detectors are available in both wired and battery-powered options. Wired detectors offer a more permanent solution as they are directly connected to your home's electrical system. However, if you prefer a simpler installation process, battery-powered detectors are a convenient choice.
Step 6: Install and Test
Once you have chosen the installation locations and prepared the necessary tools, it's time to install the smart smoke detector. Follow the manufacturer's instructions for mounting the detector securely.
For battery-powered detectors, make sure to replace the batteries regularly to maintain their functionality.
After installation, conduct a thorough test to ensure that the smart smoke detector is working correctly.
Most detectors have a test button that allows you to verify the alarm's sound and responsiveness.
Regular testing and maintenance are crucial to ensure your smart smoke detector is always in optimal condition.
Step 7: Connect to Your Smart Home System
Connect your smart smoke detector to your home's network and integrate it with other smart devices for added convenience. With a connected system, you can receive alerts and notifications on your smartphone or even automatically trigger actions like turning off HVAC systems during an emergency. You can also have your licensed professional electrician support you with this.
By following these steps, you can install a smart smoke detector in your home and take advantage of its advanced safety features. Remember, regular maintenance, testing, and battery replacements are essential to ensure that your smart smoke detector functions properly at all times. Prioritize your family's safety and embrace the power of smart technology to protect your home from the dangers of smoke and fire.
Highlights
-
 Press
PressETS6 Roadshow 2025 marks global success, showcases power of ETS6.3
ETS6 takes center stage during the month of May with 24 roadshow stops all over the world. -
 News
NewsThe KNX Journal 2025 is now available
The latest edition of our annual smart home and building solutions magazine has arrived. The KNX Journal 2025 offers ... -
 KNXtoday
#KNXis35: KNX history and evolution
KNX is 35. This worldwide building control standard, initiated by a handful of visionary European manufacturers, now has ...


